One of the biggest things that's overlooked when you try to do your own driveway sealing job, is how to protect its surroundings. Luckily, here are some tips on how to properly protect the driveway surroundings when sealing.
Start by using good-quality painter's tape, since cheap tape peels off a lot easier and that'll make your sealant spill onto other surfaces. Carefully cover all edges of the surrounding stones and curbs, but make sure that you don't accidentally tape the actual asphalt, or else it'll mess up the final product. Clean the area beforehand to help the tape stick better and prevent any mess. For tough-to-tape surfaces like brick, use cardboard as a barrier. Finally, do a quick check before sealing to make sure everything is properly covered. Taking these steps will help you get a clean, professional finish and avoid unnecessary mess.
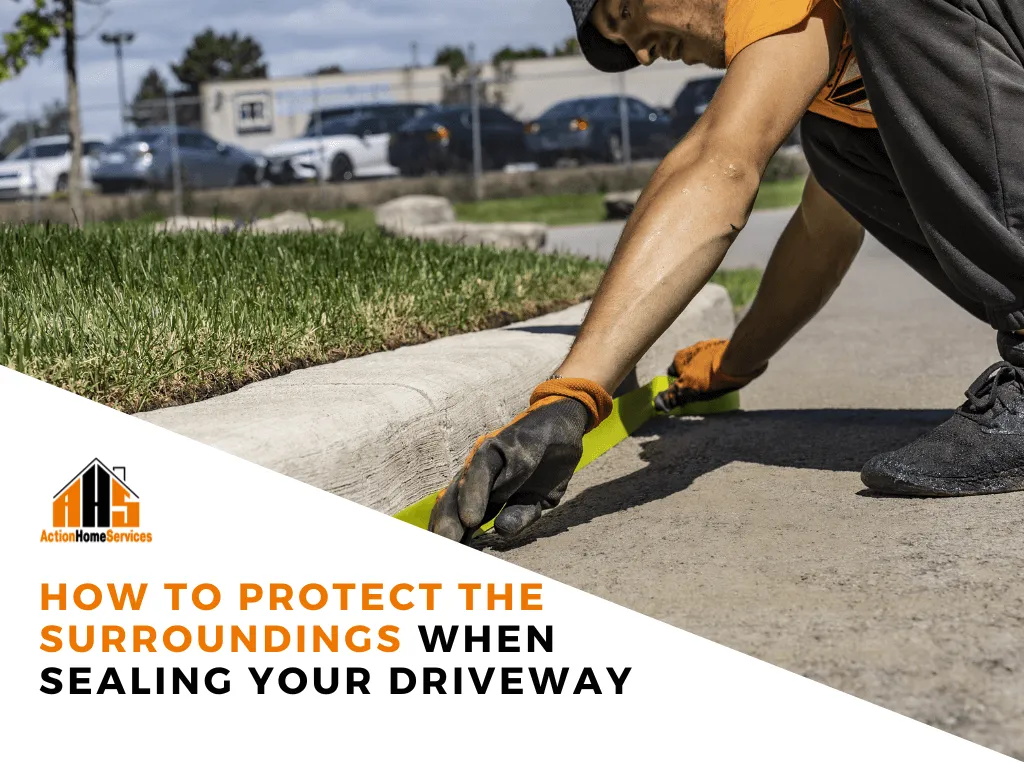
Protect the Driveway Surroundings When Sealing
1. Use Premium Painters Tape
The key to keeping everything clean is with a quality painter's tape. With trying to protect the driveway surroundings when sealing, it might seems ridiculous, but good tape matters. Cheap tape peels off or doesn't stick at all, which causes a problem where the sealant seeps onto other areas. Good painter's tape is designed to stick better, so it will keep things sharp and prevent that nasty mess. It's worth a few extra dollars for a cleaner look.

2. Cover Surrounding Stones Completely
As you apply the tape, be certain you're wrapping around every edge of the surrounding stones, curbs, or whatever area you wish to seal. Don't rush this portion, if any of the stones or edges aren't covered, that's where the sealer will be able to penetrate.
But don't be so careful as to tape the actual asphalt itself, or you could have a line of unresealed asphalt running along the sides of your driveway. You're going to want to ensure it's all coated perfectly so that you don't have problems later.
3. Clean the Surrounding Areas
Before you even begin taping, get the areas surrounding your driveway clean. Dirt, dust, or leaves are not so much of an issue, but they will interfere with the tape sticking very well and might leave out some places of protection. Sometimes a quick sweep with the broom and then a leaves blower does the trick.
This leaves the tape in its exact position while letting you have a clean and smooth surface of operation. And, a small amount of cleaning initially can prevent future time and frustration later.
4. Use a Cardboard Barrier for Non-Adhering Surfaces
Sometimes, painter's tape just doesn't want to stick to certain materials, such as brick or concrete or other types of rough surfaces. When this happens, don't panic, you can just use a piece of cardboard.
It acts like a temporary wall that shields off areas that might be tough to tape. Just place it up along the edges, and it'll be a barrier to any sealant spilling in places. It's just one little trick to make the job a lot easier.
5. Double-Check Before Sealing
After you feel like you've got it all covered, step back and double-check. Walk the whole perimeter to make sure there aren't any areas that were missed. It's simple to miss something in the middle of the project, so this small inspection will prevent you from being surprised later on.
A quick check before sealing will make sure the tape is still secure and all the areas are sealed properly.
Wrapping It Up
By following these steps, you’ll protect the driveway surroundings and keep the sealing process clean and easy. Taking the time to prep properly can make a huge difference in how the job turns out. And if you’d rather leave it to the experts, don’t hesitate to call in the pros at AHS. We’ve got the experience and the attention to detail to get the job done right.