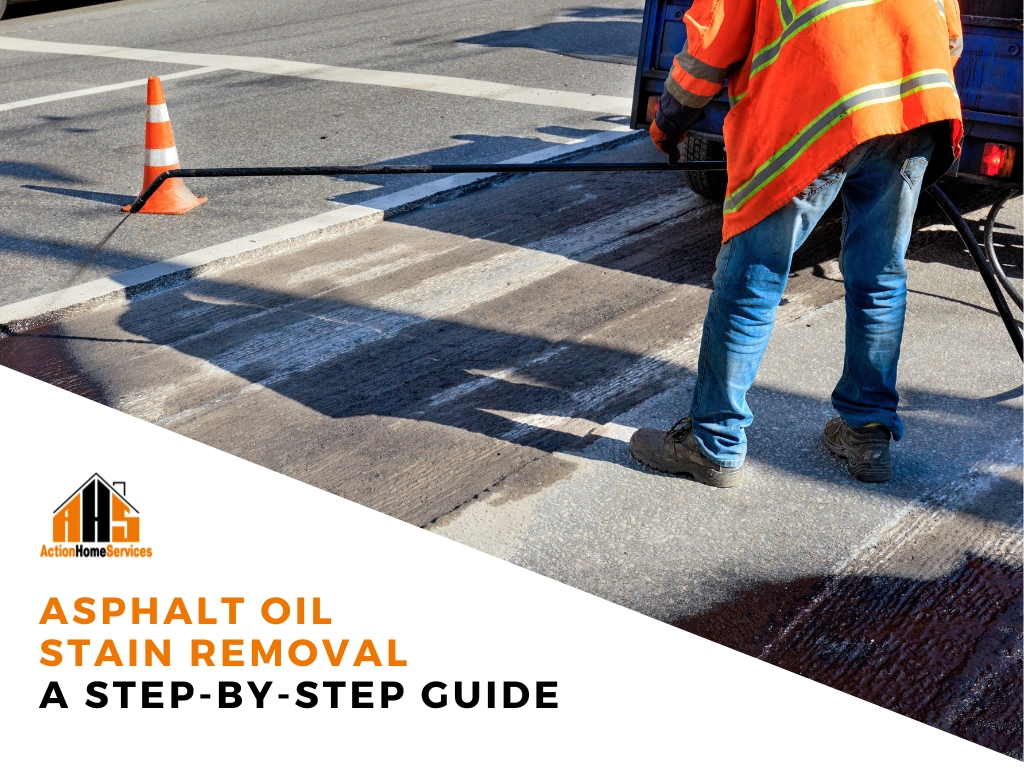
So, you read our blog about how oil stains are damaging to your asphalt. Not only do they look bad, but they do bad as well. How can we fix this? We've put together this guide to show you how to handle it yourself or when to call in the pros.
Why You Shouldn't Ignore Oil Stains
Asphalt is tough, but oil can break it down. When oil leaks from a car or piece of equipment and seeps into the surface, it starts softening the material. Over time, that spot can weaken, asphalt can crack, or even develop potholes. And the longer you wait, the harder the stain is to remove.
Taking care of these stains early will save you money and help your surface last longer. Here's how you can do it.
Step 1: Soak Up the Fresh Oil
First of all, congratulations, the stain is fresh. Absorb as much oil as you can before it soaks into the asphalt.
What You Need
- Cat litter
- Sawdust
- Commercial oil-absorbing product
What To Do
- Cover the entire oil stain with your absorbent.
- Let it sit for at least 30 minutes. If the spill just happened, give it more time. At least a few hours or overnight.
- Sweep up and dispose of the used material.
This first step removes as much oil from the surface as possible, making the next steps easier.
Step 2: Burn Off Residue (Optional and Requires Caution)
Be careful! This part isn’t always necessary, but it can help remove leftover oil that’s stuck deeper in the surface. If you're comfortable using a torch and taking proper precautions, you can try this method.
What You Need
- A gas torch (the kind used for roofing or paving)
What To Do
- Gently pass the flame over the stained area.
- Keep the torch moving so you don’t overheat or damage the surface.
- Be careful around grass, bushes, or anything flammable.
The idea here is to heat up the remaining oil just enough to burn it off without affecting the asphalt around it. If you’re unsure, skip this step or contact AHS to handle it safely.
Step 3: Deep Clean the Area
Once the bulk of the oil is gone, the next step is to wash the surface. This helps remove any thin film or residue and prepares the area for sealing.
What You Need
- A stiff brush or broom
- A degreaser or a simple dish soap
- A hose or pressure washer
What To Do
- Pour the degreaser onto the stain.
- Scrub hard with your brush to loosen up the oil.
- Rinse with water, hot water works better if you have it.
- Use a pressure washer if the stain is stubborn.
Let the area dry completely before moving to the next step.

Step 4: Seal the Surface
Once the stain is cleaned and dry, sealing the asphalt helps restore the surface and protect it from future spills. This step is important because even if you remove the oil, the area might still be more vulnerable than the rest of the driveway.
What You Need
- An oil-based asphalt sealant
- A brush or sprayer
What To Do
- Apply a thick layer of sealant over the cleaned spot.
- Spread it evenly and make sure you cover a little beyond the edge of the stain to blend it in.
- Let it cure for 12 to 48 hours, depending on temperature and humidity.
This final step keeps moisture and other fluids from getting into the asphalt and makes your surface look clean and even again.
Why This Process Works
Each step has a clear purpose:
- Absorbing the oil prevents it from soaking in.
- Burning off the residue gets rid of deeper contamination.
- Cleaning clears the surface so the sealant sticks properly.
- Sealing protects the area and restores the strength of the asphalt.
When to Call a Pro for Asphalt Oil Removal
Some oil stains are just too stubborn to deal with using household methods. If you've tried scrubbing and degreasing and nothing's working or if you're dealing with a large, older stain, it might be time to call for professional driveway repair services.
That’s where contacting AHS comes in. We use professional tools and techniques to clean, restore, and seal asphalt surfaces safely and thoroughly. Whether it’s your home driveway or a commercial parking lot, we’ve got the experience to get the job done right.


